Marshmallow Entertainment System
Back when I was a kid, I decided I wanted to make my own game console. Granted I also wanted to be an astronaut and the first man on Mars, but I had to draw the line somewhere.
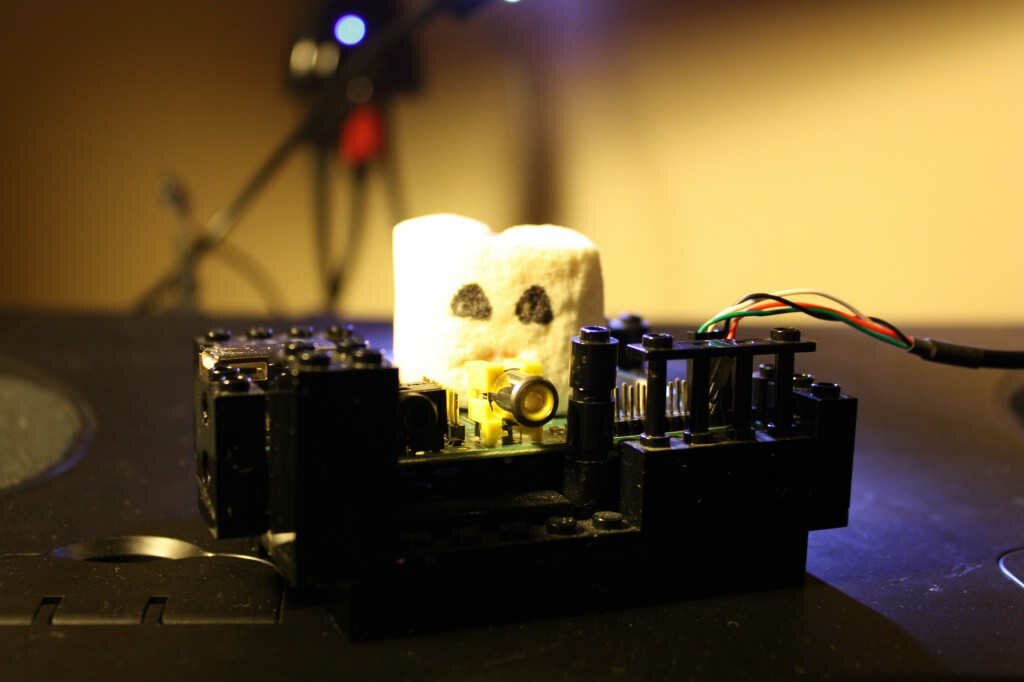
Marshmallow Game Engine started as a way for me to keep my cross-platform game engine chops up during my spare time (not that I have that much spare time mind you). But with the advent of both powerful and affordable hardware like the Raspberry Pi, I started looking into creating my own game console again, and I have to admit, I’m very excited.
MES
Thanks to the wonderful Raspberry Pi, I’m finally able to create an affordable DIY console kit for my game engine.
The following are some common components in game consoles, I’ll go through the list so you can get an idea of how the end product will work.
Controllers & Ports
Luckily the RPI has a couple of built in USB ports. A simple USB port hub or something like the Mayflash Wii classic controller pro to PC which can handle two controllers per USB slot can be used to add more ports when needed.
Not all USB controllers will be supported, but I will target the most common ones in the beginning, user submitted mappings will soon follow.
Media Slot
Since I’m planning on having mainly downloadable content, an optical media drive or cartage slot would not make much sense (fun as it may be). I might add external USB storage support.
Enclosure
No definitive case design yet. I’m considering laser cut PCB.
Operating System
Since speed and boot time are very high priority when it comes to game consoles, I decided to build my own distro. It’s lean, mean and comes in one single flavor, COUGAR.
You can see it boot here, don’t look away or you might not see it boot up at all.
http://www.youtube.com/watch?v=4Fjfqz6FxC8
I found that on some LCD displays, screen settling takes longer than the actual system boot, which is pretty awesome. The game engine waits for the screen to be ready before it continues running, this applies for first boot and for video output switching (HDMI <=> Composite).
Game Engine
I’m using my own game engine which is still under heavy development, I’m trying to get people interested in helping out with port maintenance (specially the Windows and MacOS X ports). If you’re interested .
Try it out!
If you want to try out the demo, just follow the instructions below:
wget http://downloads.marshmallow.me/sdcard.img.xz
xz -d sdcard.img.xz
sudo dd if=sdcard.img of=/dev/**YOUR-DEV-NODE**
After it’s done, insert the sdcard in your Raspberry Pi and plug it in!
Notes
You will need to have a keyboard handy since the odds you have a supported gamepad/joystick is pretty thin (donations welcome!).
F1 - restarts the demo
ESC - kills the demo
SPACE - Jumps
LEFT - Move left
RIGHT - Move right
LSHIFT - Run
Thanks for your interest in my project, please feel free to leave comments or suggestions below.
Also, I’m usually around on IRC #marshmallow_h @ freenode
G